
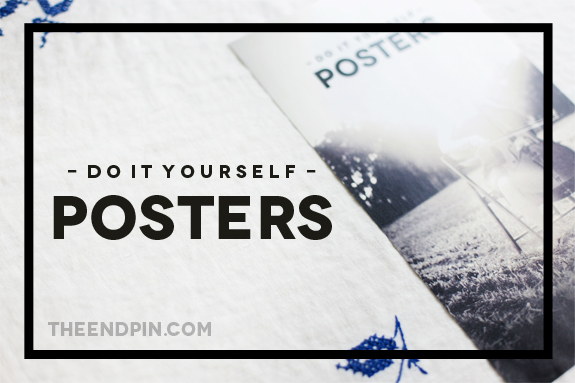
Over the past two years, I've been in full-on visual promotions mode as the Productions Research Assistant for the UC San Diego Music Department. Basically my job has been to make digital and printable posters/flyers.
Do it yourself promotions are actually pretty darn easy, but the learning curve for poster printing basics can be pretty confusing. So, from someone who's been through it (often the hard way), here are the printing basics you need to make your own professional looking posters.
*Parts of this post assume access to some kind of image-making software like Pixelmator or Photoshop
1. Image Resolution: When creating your poster image for print, always set your resolution to 300ppi (pixels per inch). That's the standard resolution for print. Resolution for digital posters (images online) can be 72ppi, a much lower resolution.
2. Paper Size: While 8.5x11 paper is the easiest to do yourself, using 8.5x14 or 11x17 paper will give you a more custom (and thus more professional) looking poster. I almost always make my posters on 8.5x14 paper, then get them printed at a local office supply store on a laser printer with nice quality paper.
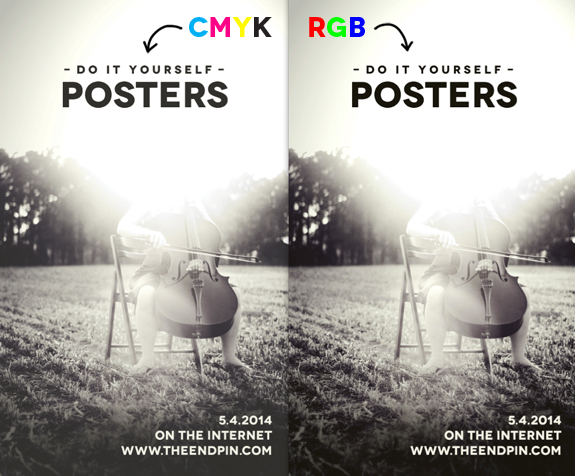
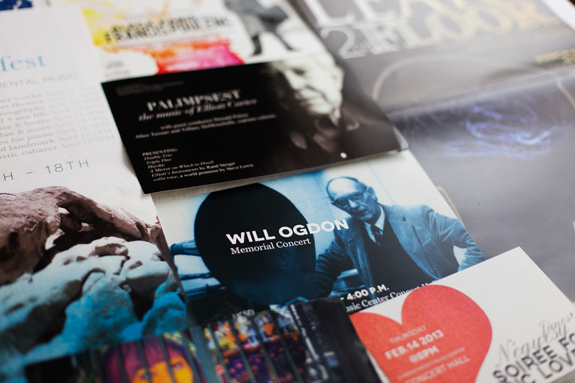
3. CMYK vs RGB: Printed images should always be made using CMYK color settings - pigment based colors that will translate to printers with high fidelity. Digital pictures should use RGB settings, which are colors based on light. If you mix up the two color settings, you'll get images that don't look how you intended them. For example, in the photo above you can see how a CMYK image looks faded compared to an RGB image when viewed on your computer screen.

4. Full Bleed: When an image goes all the way to the edge of the paper it's called "full bleed." Full bleed is a kind of illusion because printers can't actually print to the edge of paper! To get the full bleed effect, you have to incorporate extra image around the perimeter of your design, called the bleed, then crop your poster.
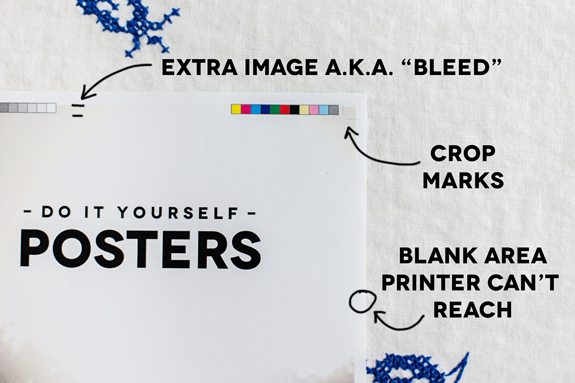
As a general rule, always add 0.25 inches of bleed to your design, then use a paper cutter to cut off the excess edge. If you have a program like InDesign, you can even add crop marks to show you exactly where to cut.
5. Image Rights: When you're making a poster, it can be tempting to grab the first great image you see off of a google image search, but that image doesn't belong to you. Always get permission to use another artist's image, or better yet, make your own!
It might all seem like overly complicated jargon at first, but these basics can become second nature in no time. Depending on the software you use, solutions and tutorials are usually just a web search away. In the end, it's pretty simple to up your promotions game and get butts in your concert seats.
No comments:
Post a Comment